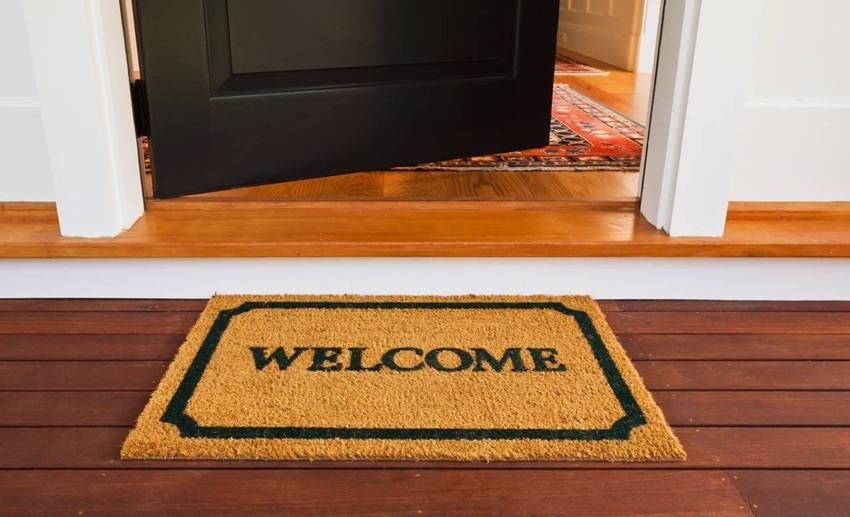
Ding dong! Another of your doormats has wasted away in the extreme heat and last weekend’s rain. You stumbled upon a permanent solution. A custom laser doormat. You remember that laser engraver you bought, but that was too basic. What if we tell you that you can make custom door mats from the “too basic” laser engraver? All you need is a beginner-friendly, safe, and thorough guide by Dubai Rubber. This guide explains a step-by-step process from start to end.
Turn A Boring Doormat Interesting With Laser Cutting — DIY Guide
We have uncovered a list of equipment needed for laser cutting and the whole process of engraving. Make sure you have all the required tools before initiating the process to avoid any inconvenience.
Equipment Needed For Laser Engraving
Laser cutting or laser engraving is highly detailed. This needs basic but a few too many tools. Even before starting the engraving, you need to have your mind set on the design you want. Now, let’s discuss the equipment.
- Computer Or A Laptop
- Laser Engraver (Obviously)
- Focus Tools
- Test Materials Or Blanks
- Safety Equipment
- Cleaning Tools
- Laser Software Interface
- Computer Or A Laptop
It is used to create a design of your liking, using Canva or Adobe Illustrator. Canva is for beginners, while Adobe Illustrator is for experts.
- Laser Engraver
The laser engraver is the tool that would cut or burn your mat into your desired logos, designs, or frames. There are many types of advanced laser engravers, but the basic one also works just fine.
- Laser Software Interface
This is the tool that programs the laser to engrave. It imports the design from Canva and focuses on the laser. It sets the power, frequency, and intensity.
- Focus Tools
These tools are used to focus the laser head. Some advanced engravers have auto-focus tools. The other needs to be manually adjusted.
- Test Materials Or Blanks
The materials you’re gonna use for the engraving. If you’re going to cut a Custom door mat in Dubai, then coir is the best choice. This engraver also works fine on other materials.
- Safety Equipment
Safety first. Elimination of all the safety hazards is important. Use safety goggles. Keep a fire blanket or a fire extinguisher around. Masks are gloves are also advised.
- Cleaning Tools
Post-work cleaning is necessary. You can use a stiff brush for dirt and dust removal. A vacuum cleaner for thorough cleaning and a microfiber cloth for good wiping.
How To Process!
Now, all our equipment is optimized and ready to use. Now, it’s time to create a beautiful custom mat with a laser that is worthy of a gift!
-
Set Your Equipment
By this, we mean, check your equipment. Your design must be ready to import. The engraver should be on. The interface software should be plugged in. Negligence should be avoided in the safety measures. A fire extinguisher or a blanket. You need to be wearing safety goggles, a mask, and gloves at all times. Better safe than sorry!
-
Prepare The Material
Now, prepare the material you need engraved or cut. Coir is most widely used for this purpose. It’s sturdy, durable, and natural. Use a thicker mat for this purpose. The mat should be completely flat on the engraver. A basic engraver’s bed is approximately 26×28. Unroll the mat and lay it down backwards. Make sure that there are no air bubbles and the mat lies completely flat on the bed; otherwise, the print will come out distorted or wonky.
-
Adjust The Engraver’s Setting
Adjust the functional settings of the laser engraver. Speed means how fast the process will be. Passes are the number of times the laser would engrave the same surface area of the mat.
-
Hit Start And Wait
Start the laser process. But before that, take adequate safety measures. Don the safety gear, including masks, gloves, and glasses. Turn on the exhaust fan for constant filtering of the fumes and smoke from the laser. Now, close the lid and press start. Constantly watch over the process if you’re working with coir. Coir is made from coconut fibers, and it’s flammable.
-
Finish And Clean Up
Wait for all the smoke to clear up. Now, open the lid and gaze upon your masterpiece you just made. Turn off the engraver and start cleaning up. Clean up using a stiff broom or a vacuum cleaner. To seal the mat, a coat os spar urethane spray is used. This would make this mat completely weatherproof.
Finalizing With Some Tips
Whenever using an engraver for a custom doormat, take necessary precautions. Make sure never to work in a fully cramped space. Proper ventilation is necessary for smoke to escape. Otherwise, there is a chance of suffocation. Other than this, doing a test on a scrap is always a good idea. This prevents your actual doormat from getting spoiled (in case of any flaw). You can paint the engraving text or design black. Just use a stencil. This practice makes the mat “pop”. If you are going to paint your coir mats, then apply the spar urethane after the painting and drying.

