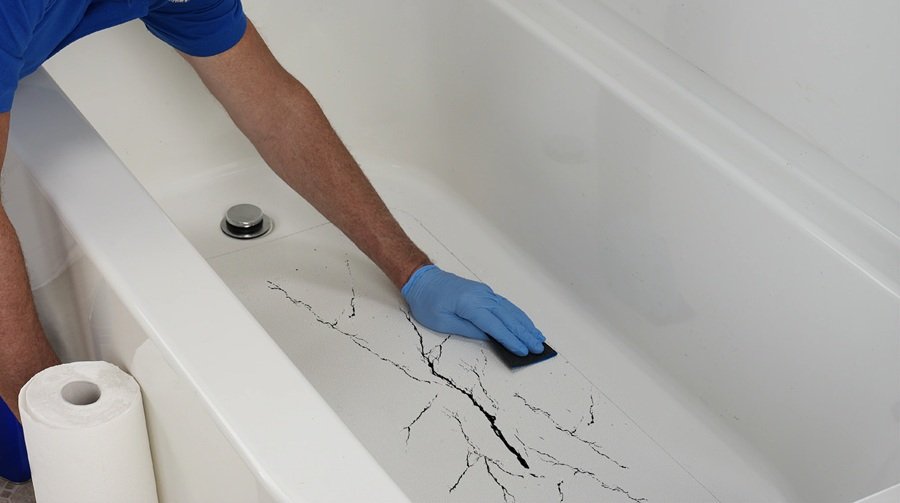
The fluctuations in humidity and temperature levels, frequent object drop accidents, and extra stress are the reasons for scratches on your acrylic and fiberglass tubs. These cracks must be restored earlier to prevent compromise on a hygienic environment and costly replacements. Leaving these cracks as it for longer allows water to seep through, mold growth, and influence aesthetics.
Dubai Rubber has a team of experts who favour a fiberglass repair kit to fix your bathtub floor cracks. It not only seals leaks, but also strengthens the surface and brings back durability. It’s also a budget-friendly DIY method that anyone can easily opt for. Of course, there are various other reasons why it’s an adoptable choice.
Let’s get into this.
Why Is A Fiberglass Repair Kit Method Important?
It’s the most practical choice to repair bathtub floor cracks and is primarily designed for homeowners. That’s because you don’t need complex tools & equipment, or technical skills. Plus, it’s a safe and budget-friendly solution. To achieve the best results with this method, simply follow the instructions.
Pay attention – The fiberglass kits show compatibility with both fiberglass and acrylic tubs, create waterlight seals, and rebuild the tub’s strength.
DIY Guide By Dubai Experts To Fix Bathtub Floor Cracks
Here’s the exact step-by-step guide to repair minor to complex bathtub floor cracks. You have to follow each step with care and precision to get excellent results.
- Cleaning the Area
- Sanding the Cracks
- Preparing The Resin Mix
- Apply Fiberglass Cloth
- Adding Reason Layers
- Smooth The Surface
- Final Touch-Up
1- Cleaning The Area
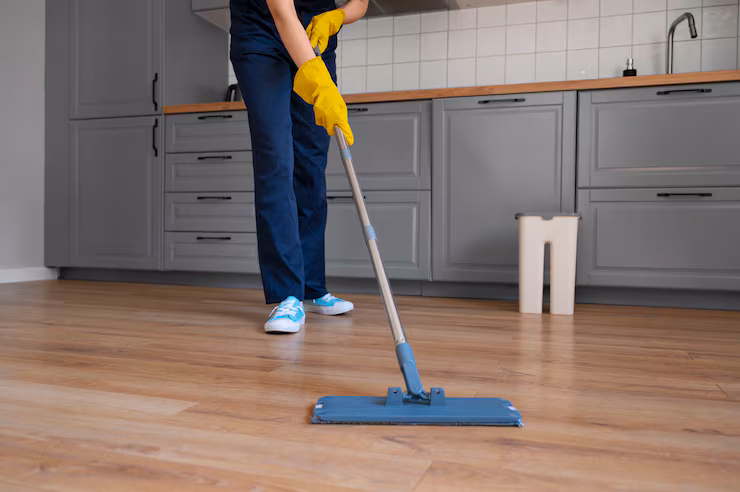
During the crack repair, even traces of moisture can weaken the repair. You have to properly clean the surface before applying resin to bond tightly. Use mild soap and warm water for scrubbing the crack area, and then dry. Repeat the process to get the best results and gently apply resin when you’re satisfied with the cleanliness.
2- Sanding The Cracks
The second step is to sand the crack using sandpaper. It will create a textured layer that allows fiberglass cloth or resin to stick effectively to the surface. We have excessive moisture in bathrooms, so the strong grip of materials may not be possible without sanding the surface around the crack.
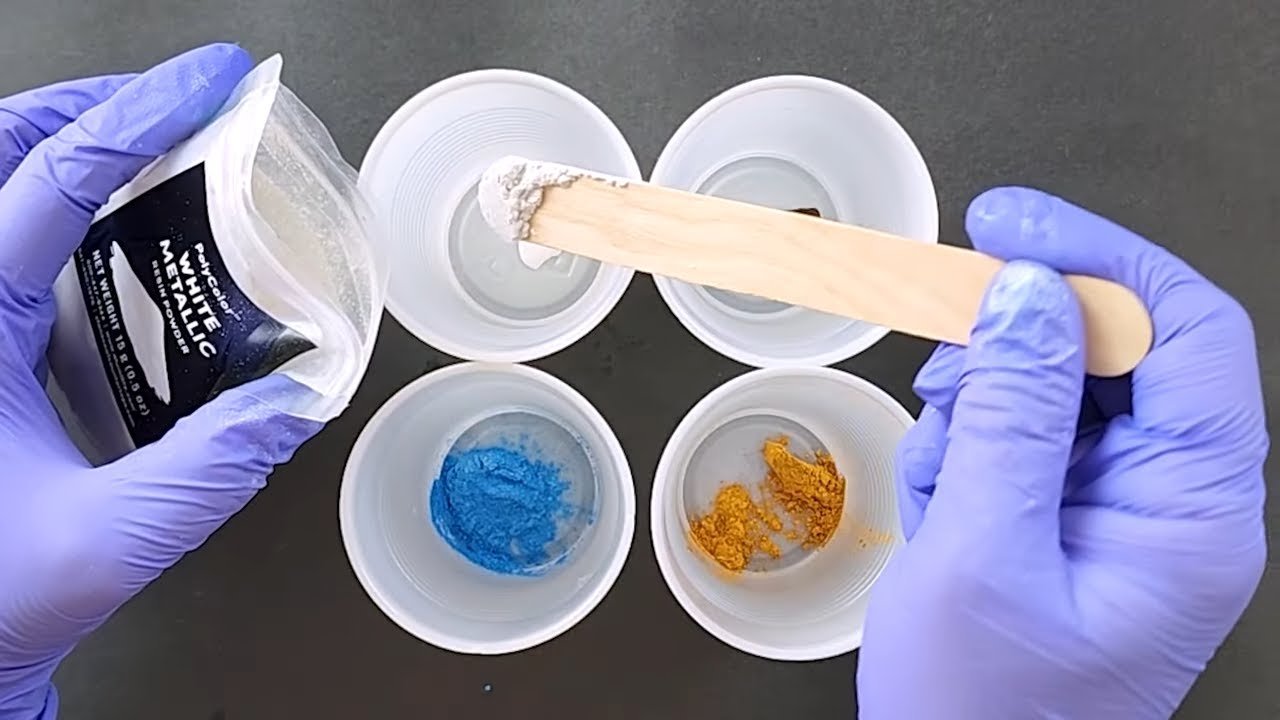
3- Preparing Resin Mix
In this step, we recommend you mix the hardener and resin as per instructed in your fiberglass repair kit. Make sure you stir the mix until it shows no lumps, and it must have the recommended amounts. If you want the patch to become waterproof, consider the correct preparation. That’s because this blend forms the base of your bathtub floor crack repair.
4- Apply Fiberglass Cloth
So, you are done with preparing the resin mix. Now, it’s time to apply slightly larger than the crack fiberglass cloth over the area. It will act like a shield and distribute the weight. And yes, it will also prevent the crack from spreading.
You have to care for these things while applying fiberglass cloth over the crack:
- No gaps or folds on the fiberglass cloth
- The cloth must be larger than the crack
- It should reinforce the weak spot
5- Adding Resin Layers
To strengthen the base of your bathtub floor, you have to apply resin layers over the crack. The layers are responsible for building thickness, sealing out water, and handling pressure. You can spread the resin layers with an applicator. You can apply one, two, or multiple layers, depending on the crack types.
6- Smooth the Surface
The repaired area must match the level of the surrounding area for a finished look. For this, use fine-grip sandpaper and smooth out the area. Do this continuously until it removes the sharp edges and ensures the bathtub remains comfortable to stand or sit on.
7- Final Touch-Up
After doing all this, go ahead and finish the bathtub surface for a desired look. You can paint the floor surface or apply protective coatings to match the original bathtub color. By going with protective coating treatments, you enhance the bathtub floor’s strength and boost bathroom renovation. Skipping the final touch-up process may leave spots exposed even after repairing.
After Care & Maintenance Tips For Bathtub Floor Safety
Here are some experienced aftercare tips to maintain your bathtub floor and enhance its safety levels. Opt for these and do not compromise on them.
1- Avoid Abrasive Cleaning Solutions
Clean the repaired surface of your bathtub, clean it with mild soap and a soft sponge. That’s because it prevents the finish from damage and does not weaken the resin. You must avoid harsh scrubbing powders or strong chemicals.
2- Let The Resin Dry Properly
It’s all the game of resin, so you must give the repaired area at least a few hours to dry the resin. This period will allow the layers of fiberglass to harden maximally and withstand the daily wear and tear. After that period, you can fill the tub or stand on the repair surface.
3- Place Underneath Support Mat
You can install a rubber cushioned mat or a support pad beneath your bathtub. It will protect your bathtub floor surface from excessive stress and prevent the formation of new cracks. The mats will also absorb the shocks and pressure.
4- Inspect Bathtub Seals Regularly
You must check the signs of dullness, small floor leaks, and lifting signs on a routine basis. It’s good to check for these wear signs earlier and repair before it’s too late. Doing this can help you prevent bigger cracks from appearing again.
5- Wax Protective Layer
One of the best DIY tricks to create a stronger barrier against soap and moisture attacks is to apply a carnauba wax layer or tub-safe polish over the repaired spot. The wax layer must be thin, so it prevents unevenness.
6- Improve Bathroom Ventilation
Hidden moisture damages always happen to the bathtub floor surface when you observe frequent humidity fluctuations. So, we recommend you keep the bathroom well-ventilated by installing exhaust fans. It will maintain humidity levels and prevent hidden bathtub damage.
7- Avoid Dropping Objects On The Bathtub
We observed that most of the time, small accidents like a shampoo bottle dropping on the bathtub floor damage the surface. You must avoid these by placing such accessories and items away from the bathtub edges. It reduces the chances of dropping and any kind of damage.
The Bottom Line
Finally, we shared the complete guide on how you can fix the bathtub floor cracks safely with a fiberglass repair kit method. We shared the importance of this method and the steps, including the surface preparation to sanding, and layering the resin. The steps also involve fiberglass cloth application and final touch-ups.
Interestingly, we also discussed the aftercare and maintenance tips, such as gentle cleaning and proper ventilation to resist hidden damage. For restoring the strength and beauty enhancement, inspect your bathtub floor for any cracks on a regular basis. Contact us to get more interesting tips and a guide to repairing your bathtub floor cracks.