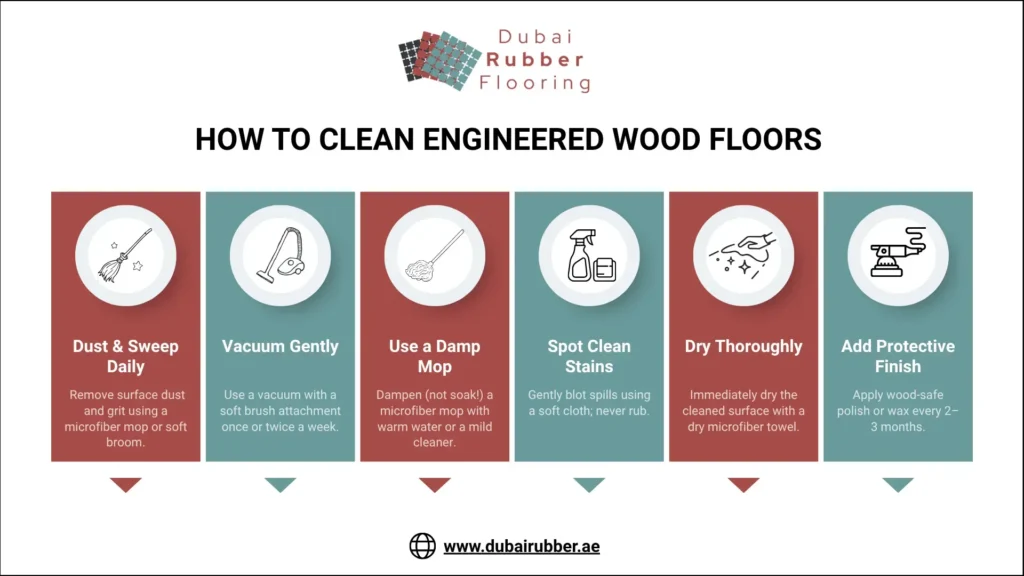
We have all been standing in our unfinished basement at some point. Always thinking about what to do with the basement. A few ideas came to mind about turning your basement into a leisure area, but you are still stuck on the first step. How to Level and Finish a Floor. This is where Dubai Rubber’s guide swoops in to help. This guide is your ultimate resource for leveling your basement floor. Everything is explained in this guide in a simple way for better understanding.
Leveling The Basement Floor | A DIY Guide For Beginners
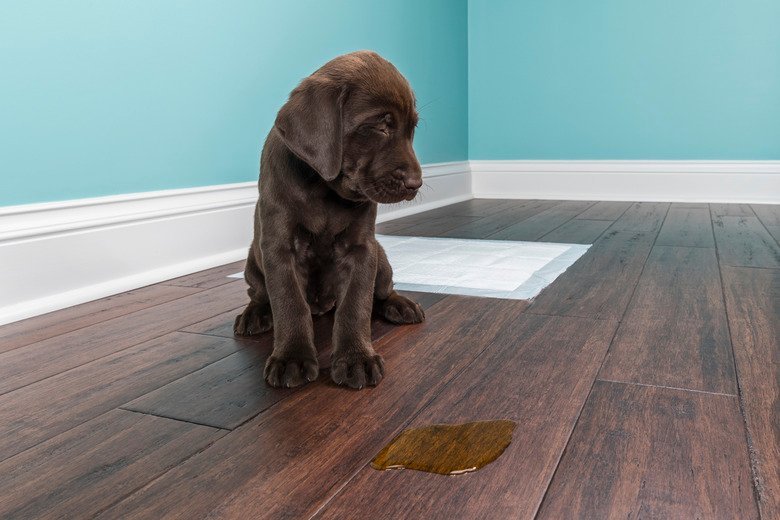
Before starting, knowing the importance of a leveled basement is necessary. A leveled basement is the flame bearer of a stable home. The cracks and holes in the basement are much more concerning than any other place. These cracks pose safety hazards to your home by allowing water in. All of this can be avoided by a perfectly leveled basement floor.
- Uneven Floors — Problematic Lifestyle! Uneven basement floors make it hard to renovate the space. Moreover, you would be tripping constantly, which is a safety hazard. Additionally, a bumpy or uneven floor makes it hard to install any kind of flooring in Dubai. Result — Unfinished and unsightly basement!
- Dubai’s Climate & Construction Style: Due to Dubai’s extreme heat and humidity, basement floors face heat expansion, moisture-level fluctuations, and uncured concrete settlement. All of these things make it essential to strengthen the basements for the sake of the stability of the whole house.
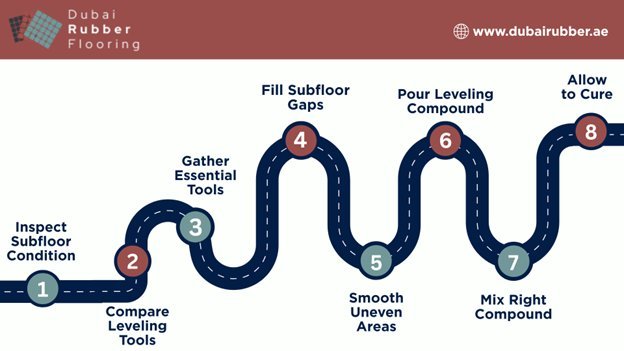
1- Inspect & Prepare Your Basement Subfloor!
Before going all nuclear on the labour part, it is essential to inspect the current state of your basement floor. This is the key factor.
Identifying The Flaws (Uneven Surfaces & Cracks)
Check for any kind of flaws in your existing basement floor.
- Any signs of water damage.
- Cracks in the floor (minor or wide)
- Bumps or dips in the floor.
- Ensure proper drainage in the basement.
- Examine the expansion gaps (if any).
2- Weighing The Leveling Tools
There are two primary tools used to check the level of the floor. The first one is a “laser level,” and the second one is a “spirit level”. Both of these tools are used industrially for flawless leveling. Below is a thorough comparison of both.
| Feature | Laser Level | Spirit Level |
| Precision | Highest: For Larger Areas | High: For Only Limited Areas |
| Covered Area | Full Basement Floor At Once | Usually for 2 to 6ft. |
| User-Friendliness | Easy To Set Up: Hands-free Once Set Up. | Manual Placement & Repositioning |
| Agility | Faster: Time Efficient | Requires Multiple Checkings |
| Visibility | Easy To Spot Bright Laser | Close Inspection & Lighting For Bubble Inspection |
| Cost Effectiveness | Expensive: Investment Tool | Affordable: Easily Available |
| Best Used For | Large Projects: Industrial Use | DIY Projects |
There you have it! A complete comparison of both the tools. As shown above, a laser level has nothing but benefits. One teeny little thing might be its price. But considering your basement floor is an investment, it’s only wise to invest in something like a laser level. If you don’t want to buy your own, consider hiring a flooring team. It’s always better to get a big project like a basement done by professionals.
3- Tools Needed For A Flawless Basement Floor
Having the right tools is the most important thing when working on the foundation of the house. Here is the list of tools that ensure a flawless basement leveling.
Primary Tools
- Laser Level
- Concrete Sander
- Guage Spreader
- Mixing Buckets
- Safety Gear (Industrial Gloves, goggles, and face shield)
Materials Needed
- Cement Or Epoxy ( For Crack Filling)
- Self-Leveling Compound (Dubai’s Climate Appropriate)
- Primer
4- Filling In The Gaps — Subfloor Leveling
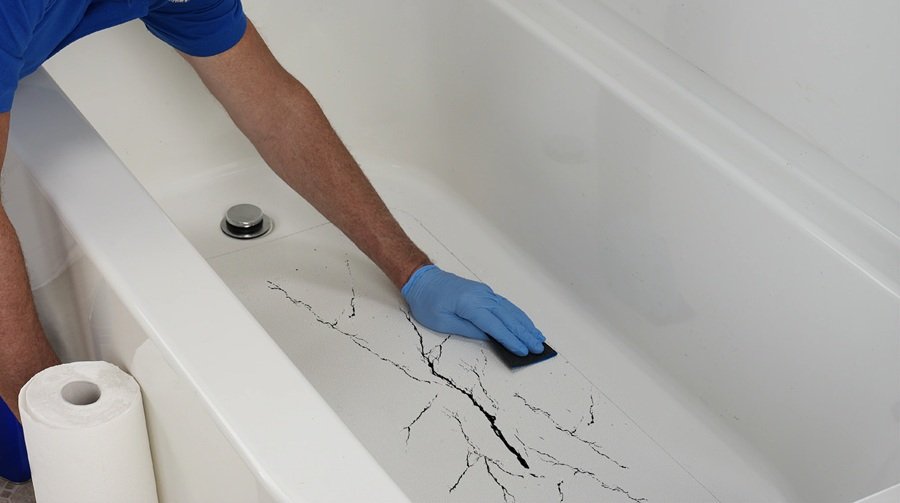
If your basement has been left unattended for a significant amount of time, there is a chance the floor has imperfections. Before cementing the floor, it is necessary to fill in any cracks and holes.
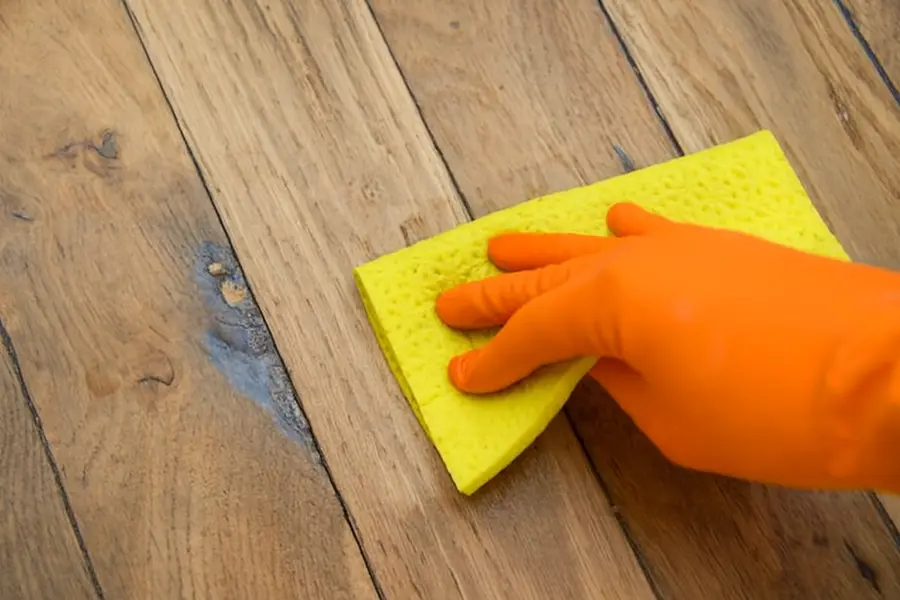
Cleaning Out & Filling In The Cracks In The Floor
Use a chisel to take out any uneven parts of the floor. Vacuum out any debris in that hole. Now, the imperfection is clean and clear.
- Fill out the cracks or holes with the filler.
- Smooth the floor out with a putty knife.
- Allow a substantial amount before the next step.
Sealing Off With A Primer
A good primer helps the self-leveling concrete to adhere to the floor. Apply a thin coat of the best floor primer you can find. Spread evenly on the entire basement floor and let it dry completely. Follow the manufacturer’s instructions given on the packaging.
5- Smoothing Out The Bumps
Now that we’ve talked about filling the dips in the floor, smoothing out the bumps is as important. Sometimes, you can make do with a minor dip in the basement floor, but a minor bump is impossible to work with.
Using A Concrete Grinder — Safety And Precautions
Use a concrete grinder to smooth out any bumps. A concrete grinder is an excellent tool for smoothing the floor, but it can be dangerous when used without caution.
- Double-check your safety gear.
- Keep the grinder moving
- Don’t grind a single sport for too long
- Minimize the dust by connecting a vacuum system.
Weakening The Floor — How To Know When To Stop!
The goal is to smooth out the bumps — not to affect the structural integrity of the basement floor. The key is to notice small things. If you notice sudden excessive dust or structural elements like bricks or gravel, stop immediately.
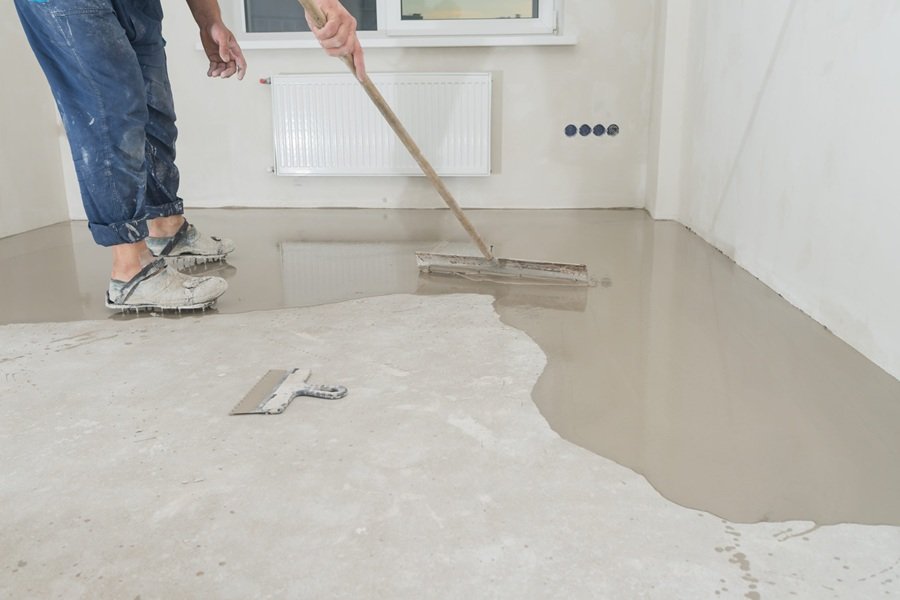
6- Pour Down The Self-Leveling Compound
Now, your basement floor is leveled. The bumps are smooth, and the dips are filled. The ultimate step is to cement the floor with a self-leveling compound.
7- Choosing & Mixing The Most Suitable Compound For Dubai
Selecting the right compound is important in a climate like Dubai’s. Select a fast-drying and heat-resistant compound to level your basement. This type of compound is great for Dubai, as the heat helps the compound dry out faster. Make sure to mix only as much quantity as you can pour in 10-15 minutes, or the compound will harden in the bucket.
Mixing The Compound
- Fill the bucket with water, and then add the powder.
- Use a drill paddle to eliminate the lumps.
- Mix until fully combined.
- Start pouring the compound from the lowest point of the floor.
- Spread the compound into the corners with a spreader.
- Work in sections to avoid uneven curing.
- Eliminate trapped air bubbles with a spiked roller.
8- Curing & Drying Time
Dubai’s heat can greatly accelerate the curing time.
- After 4-6 hours: Light foot traffic is allowed
- After 24-48 hours, the basement is ready for a floor installation.
Avoid direct sunlight and air during the curing process.
Finalizing The Project And Re-checking The Floor Level
Finally, check one last time with the laser level and sand out any imperfections. You can use a hand sander as well, instead of a concrete grinder. After the final leveling is done, your basement is ready for tiles, polishing, or any other kind of flooring installation.
In a city like Dubai, a finished and leveled basement is more than a luxury. It’s a necessity. A reinforced basement can effortlessly enhance the foundational integrity of the whole house. After proper leveling, you can turn this space into a storage area, spare living space, gym, or even game room. But for all this, the basement needs to be resistant to elemental damage.